Enterprise-Grade Security & Compliance
Saved per clinician, per day
Potential added annual revenue per physician
Less than a human scribe
From signup to fully live
HEAR FROM OUR CLINICIANS
"The revenue analytics dashboard completely changed how we negotiate. We can pull real-time KPIs (collection rates by payor, denial patterns, cost-per-visit, outcomes data) and walk into payor negotiations and employer contracting meetings with actual leverage. We used to guess. Now we show up with the numbers and get the rates we deserve."
"I have a direct scheduling link for every specialist I refer to. My patient tears their ACL on Monday, I click one link, and they're on the surgeon's schedule by Tuesday. No phone tag, no fax machine, no prior auth delay. The patient gets seen fast, and I know exactly when their appointment is. That's how referrals should work."
"Scheduling used to be a full-time job for my staff. Now patients self-schedule, automated reminders go out, and no-shows dropped dramatically. My front desk can actually focus on the patients in front of them instead of being buried on the phone all day."
"The referring provider funnel changed how I build my practice. Trusted colleagues send me well-vetted patients through a direct link, and the AI intake is already done before they arrive. I get a complete summary with red flags highlighted. It's like every referral comes pre-packaged and ready to treat."
"Critical diagnoses and time-sensitive details are highlighted so APPs and general practitioners never miss a red flag. It brings your attention to rule out a diagnosis or quickly refer to a specialist, reducing the burden of medicine and keeping patients safer."
"My front office used to drown in intake paperwork and phone calls. Now the AI handles intake, triage, and even pre-populates my dashboard before I walk into the room. I'm operating at the top of my license again instead of doing data entry."
ONE PLATFORM.
EVERY WORKFLOW.
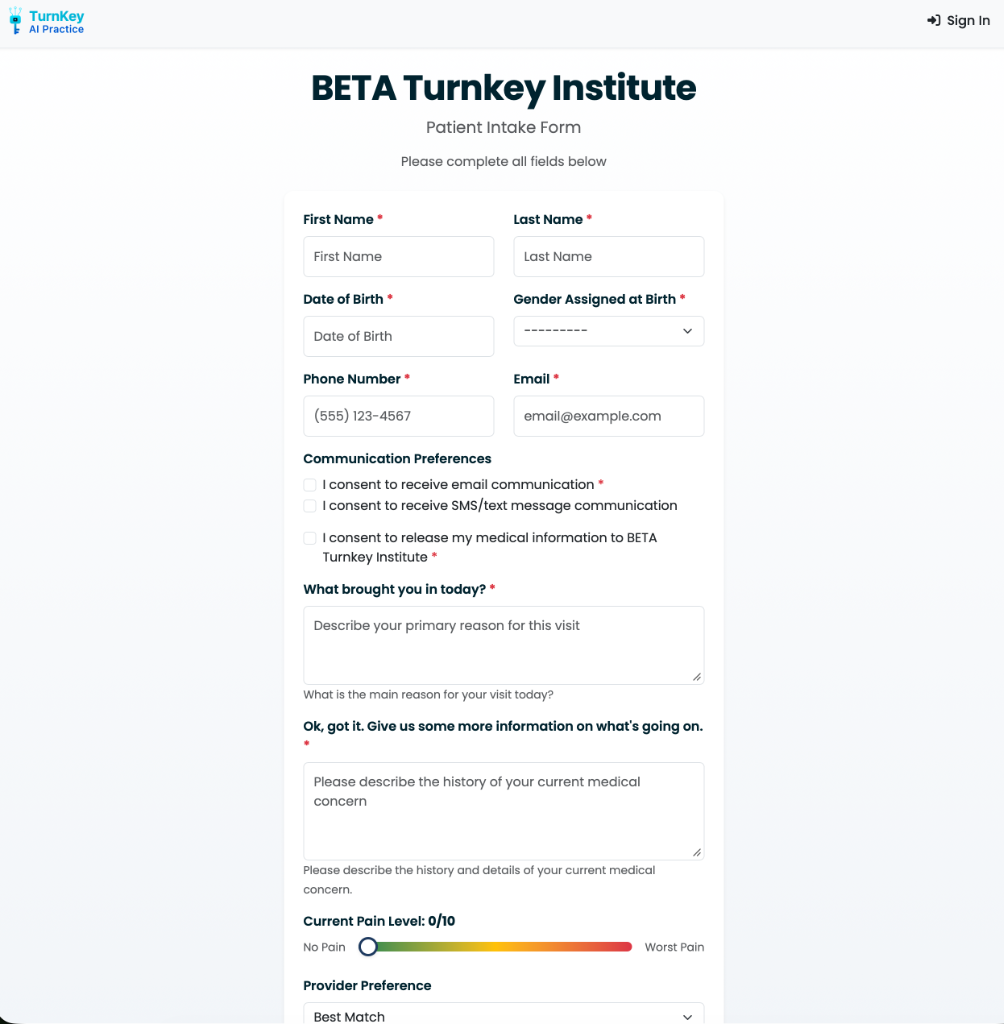
From patient intake to billing, our AI handles the administrative burden so you can focus on what matters: patient care.
AI Configurable Physician
& Patient Dashboard
Imagine a fellow who already reviewed the chart, spoke with the patient, and is ready with a one-liner. Our AI delivers clinician-specified information (customized to your preferences) so your time is spent confirming diagnoses, building rapport, and educating patients. Not data hunting.
"58F w/ 4-mo progressive R shoulder pain & weakness after fall. First-time presentation. MRI: full-thickness supraspinatus tear, 2.1cm retraction. BMI 26, well-controlled DM2, non-smoker. Failed 8 wks PT. Candidate for primary arthroscopic RCR."
R shoulder pain & weakness, 4 months post-fall
BP 132/78 · HR 68 · SpO₂ 99%
DM2 · Age >55 · Full-thickness tear (AP 2.6cm, 2.1cm retracted)
· Rehab timeline expectations
Patch augmentation: consider biologic/structural patch augmentation given tear size & high m-ROHI
Double-row fixation: improved footprint coverage for large tears
Conservative rehab pacing: extended immobilization given DM2 healing profile
Patient counseling: discuss 40 to 60% retear risk & realistic outcome expectations
Re-tear rate: 40 to 60% at 1 to 2 years (BMI, DM2, tear size factors)
Primary arthroscopic repair recommended. Single-row fixation w/ PRP augmentation shows improved healing in moderate-risk patients.
1. Galatz LM et al. "The outcome of rotator cuff repair." JBJS, 2004;86(2):219-224.
2. Randelli P et al. "Effect of PRP in rotator cuff repair." Am J Sports Med, 2011;39(2):258-265.
3. Sugaya H et al. "Functional & structural outcome after arthroscopic RCR." JBJS, 2005;87(6):1229-1240.

Smart Scheduling
AI-optimized patient flow with scheduling triage based on physician preferences and specialty. Maximizes clinician utilization across your practice.
AI Coordinated Referring
Provider Funnels
A dedicated portal for referring providers with real-time metrics, automated closed-loop communication, and seamless care coordination, from referral to outcome.
24 providers
98% loop rate
142 this month
Built into every TurnKey plan
Automated Coding
CPT & ICD-10 suggestions
Patient Communication
AI-powered messaging
Revenue Insights
Real-time analytics
E-Prescribing
Formulary checks, interaction alerts & EPCS
Practice CRM
Patient relationships & referral tracking
KPIs
Track performance metrics that matter
AI Research Team
Automate PROMs, generate insights & publications
INVEST IN YOUR PRACTICE
A complete practice platform, not just a scribe. No hidden fees. No feature gating.
Early Adopter
Launch price, limited availability
Solo Practice
Full platform, not just a scribe
Group Practice
Group purchasing: $160/provider/mo
Group Practice Plus
Analytics, advanced AI & referral tools
Enterprise
For multi-location practices
Early Adopter pricing is month-to-month for the first 90 days, so you can try the platform with no annual commitment. After 90 days, plans convert to a standard annual agreement.
Why physicians choose TurnKey over alternatives
The math is simple: one extra patient per day pays for TurnKey. Everything after that is value creation.
AI-generated notes, automated coding, and pre-populated dashboards significantly reduce documentation burden.
See 3 to 4 more patients per day with AI-optimized scheduling and reduced admin time. That's 14x ROI on Solo.
A human scribe costs ~$50K/yr. TurnKey Solo is $3,588/yr, and includes scheduling, intake, coding, and patient comms that a scribe never could.
¹ Based on physician AI adoption studies measuring documentation time reduction with ambient clinical scribe tools.
² Assumes 1.8 RVUs at ~$80/RVU × 3 additional new patients per day × ~10 clinic days/month, modeled on an orthopaedic surgeon. This is the conservative surgical-clinic case; full-time clinic schedules project to ~$112K/yr (see the ROI calculator). Varies by specialty, payor mix, and clinic volume.
³ Based on average U.S.-based, full-time medical scribe at ~$50,000/yr including overhead, compared to TurnKey Solo at $3,588/yr.
SEE WHAT YOU SAVE
Drag the slider. Toggle the features your practice needs. Watch the math do the talking.
Physicians in Your Practice
Drag to match your practice size
Select Your Features
Toggle features on/off to see how each impacts your bottom line.
Your Annual Savings
Send these numbers to your inbox so you can share with your partners.

Dr. Justin T. Smith
Founder & CEO
Orthopaedic Surgeon
A SURGEON WHO CHOSE
TO BUILD.
"I trained for ten years to take care of patients and athletes. Then it felt like I spent half my day fighting an EHR that re-asked patients things already in the chart and buried clinical decisions under billing codes. When I went independent, I realized no one was building the infrastructure for physicians like me, so I started building it myself."
Dr. Justin T. Smith, MD is a fellowship-trained, double board certified orthopaedic sports surgeon: a Steadman-Hawkins fellow, ASES grant recipient, and former team physician for Winthrop University, Clemson University, the University of Georgia, and the Colorado Rockies. After a decade of post-graduate training and several years practicing inside a major hospital system, he left to launch Journey Orthopaedic Institute, an independent practice built on cost transparency, comprehensive sports medicine, and technology-enabled care across the Carolinas.
Give independent physicians the same AI infrastructure that health systems spend millions building, without the enterprise price tag, the bureaucracy of Epic or Cerner, or the loss of autonomy.
Every feature in TurnKey AI was designed by a physician who still operates, still sees patients, and still feels the broken system every day. JOI is the proving ground. TurnKey is the product. Our founders use it daily, and our earliest investors are physicians who use it too. This isn't Silicon Valley's idea of healthcare. It's a surgeon's answer to it.
QUESTIONS, ANSWERED.
TurnKey AI Practice is an AI-powered clinical workflow platform for independent medical practices. It combines AI clinical notes, AI patient intake, smart scheduling, automated CPT and ICD-10 coding, e-prescribing, patient communication, referring provider funnels, and revenue analytics in one HIPAA-compliant platform, so a small practice can operate like a fully staffed one.
Still have questions? Email us or join the waitlist.